


Tom Coleman demonstrates the best way to pull a handle.
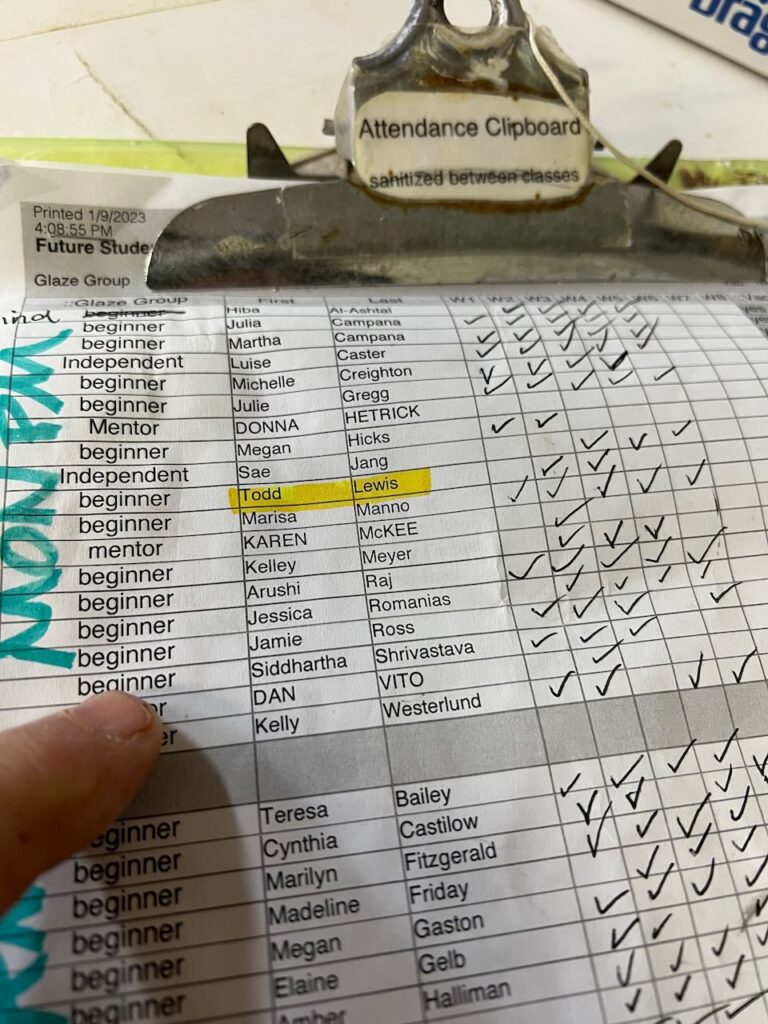
you are a beginner glazer unless Marked otherwise on the
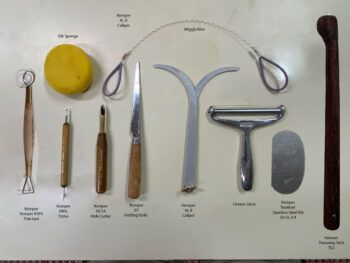
Should you want to add to your tool collection these
There is so much to learn! Even if you can never master it all, it is fun to see the masters at work. Learn about the medium of clay and the ceramic processes.

These are videos I made to help you with trimming.
This is one man’s take on throwing basics.